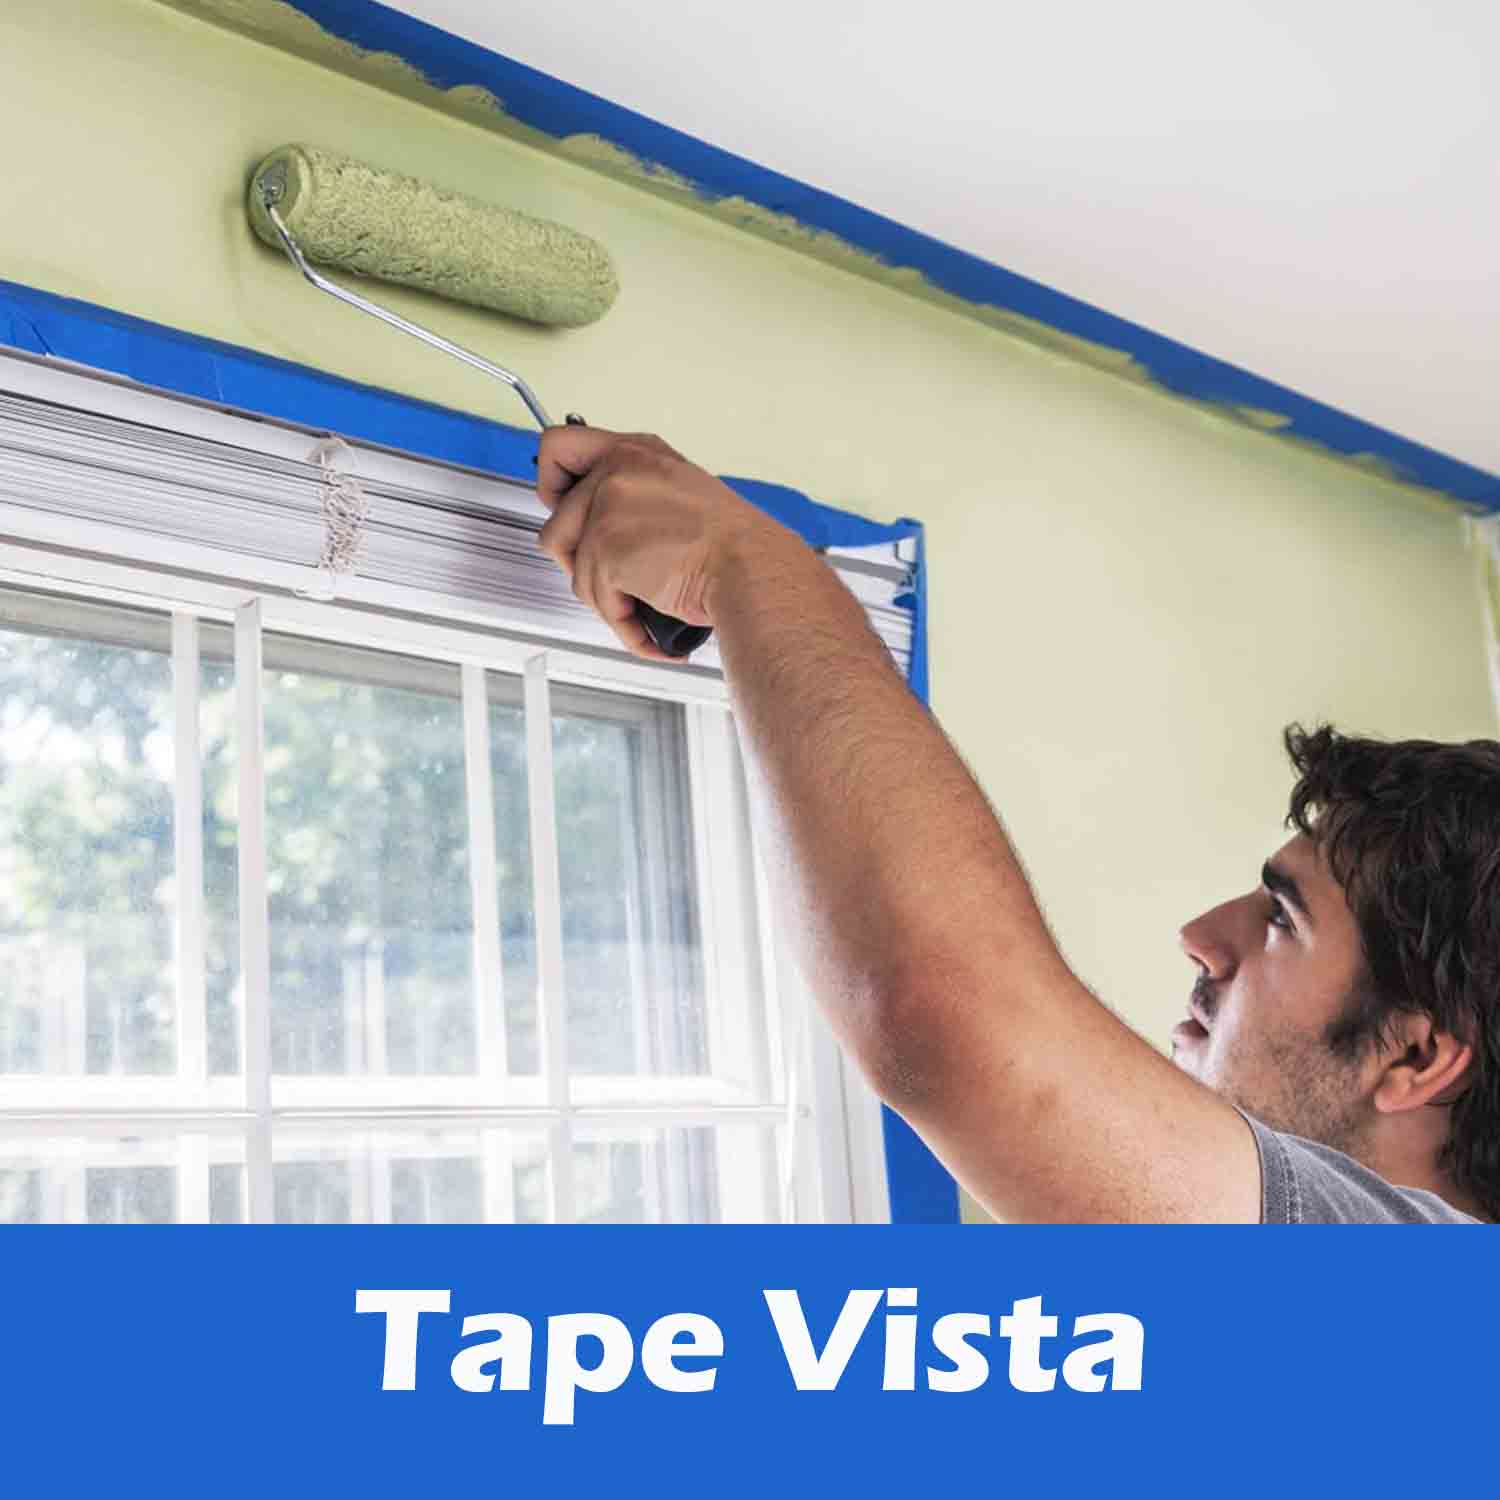
Painter’s tape is a crucial tool for achieving clean, professional paint edges, but knowing when to remove it is key to a successful painting project. Here’s a comprehensive guide to help you get the best results

Understanding Painter’s Tape
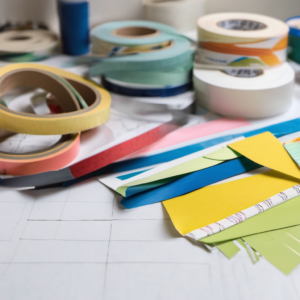
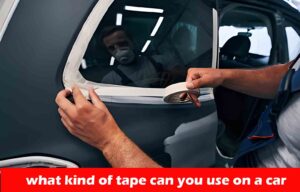
Painter’s tape, distinct from masking tape, features a lower tack adhesive designed for easy removal while maintaining a clean edge. Different types cater to indoor and outdoor projects, ensuring you have the right product for a professional finish.
Understanding Painter’s Tape: Painter’s tape, distinct from masking tape, features a lower tack adhesive designed for easy removal while maintaining a clean edge. Different types cater to indoor and outdoor projects, ensuring you have the right product for a professional finish.
When to Remove Painter’s Tape: Wait for the Final Coat to Dry: Ensure the paint is dry to the touch before removing the tape. Refer to the paint manufacturer’s instructions for recommended drying times.
Between Coats Considerations: If applying two coats, it’s generally best to leave the tape until the second coat is dry. Retaping between coats may risk misalignment and a less precise finish.
Don’t Leave Tape Up Too Long: Check the manufacturer’s instructions for the recommended removal time. Some high-quality tapes can stay up for 21 days or more, but it’s advisable to remove it as soon as the paint is dry.
The 45-Degree Angle Method
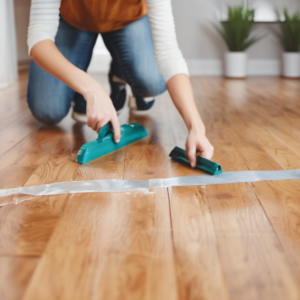
- Removing painter’s tape correctly is as crucial as knowing when. Follow these steps:
- Patience is Key: Work slowly and patiently. Peel the tape away at a 45-degree angle.
- Tear Lengths Regularly: Avoid handling a large mass of tape; tear off manageable lengths and discard them.
- Consider Scoring with a Utility Knife: Some experts recommend scoring the painted edge with a fresh utility knife blade to ease removal. Score only if you notice areas where the paint might have stuck.
- Pay Attention to Detail: Work close to the tape and look ahead to spot potential issues before they occur. Avoid ripping off long lengths without attention to detail.
Tips for Easy Removal
Allow Paint to Dry: Ensure the paint is dry to the touch before attempting removal. Check the manufacturer’s instructions for specific drying times.
Consider the Number of Coats: Know your project’s requirements; remove the tape accordingly between coats.
Peel from the Back at a 45-Degree Angle: Peel the tape away from the freshly painted area at a 45-degree angle. Adjust the pulling direction relative to the paint location.
Gently and Slowly Peel: Take your time to avoid damaging the paint. Work in manageable sections for larger surfaces.
Cut Paint Attached to the Tape: If paint sticks to the tape, stop peeling and use a hobby blade to cut through the dried paint.
Alternate Times for Tape Removal
Immediate Removal: If you can, remove the tape as soon as the paint is dry to avoid any complications.
Long-Term Use Tapes: Some tapes are suitable for extended use, allowing flexibility in removal times.
Conclusion: Using painter’s tape is a smart choice for achieving a professional finish, but careful removal is crucial. Follow these guidelines to ensure your painting project results in clean, sharp edges without any unwanted surprises. Happy painting!